24 Kitchen Organizers That Make Every Cabinet Feel Bigger
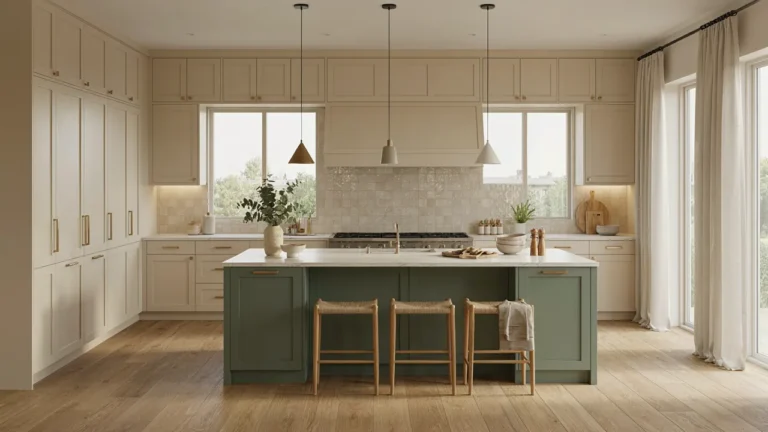
Crowded kitchen cabinets can make even a beautiful kitchen feel messy and frustrating. Finding one pan, matching a container lid, or reaching a jar at the back should not require rearranging everything.
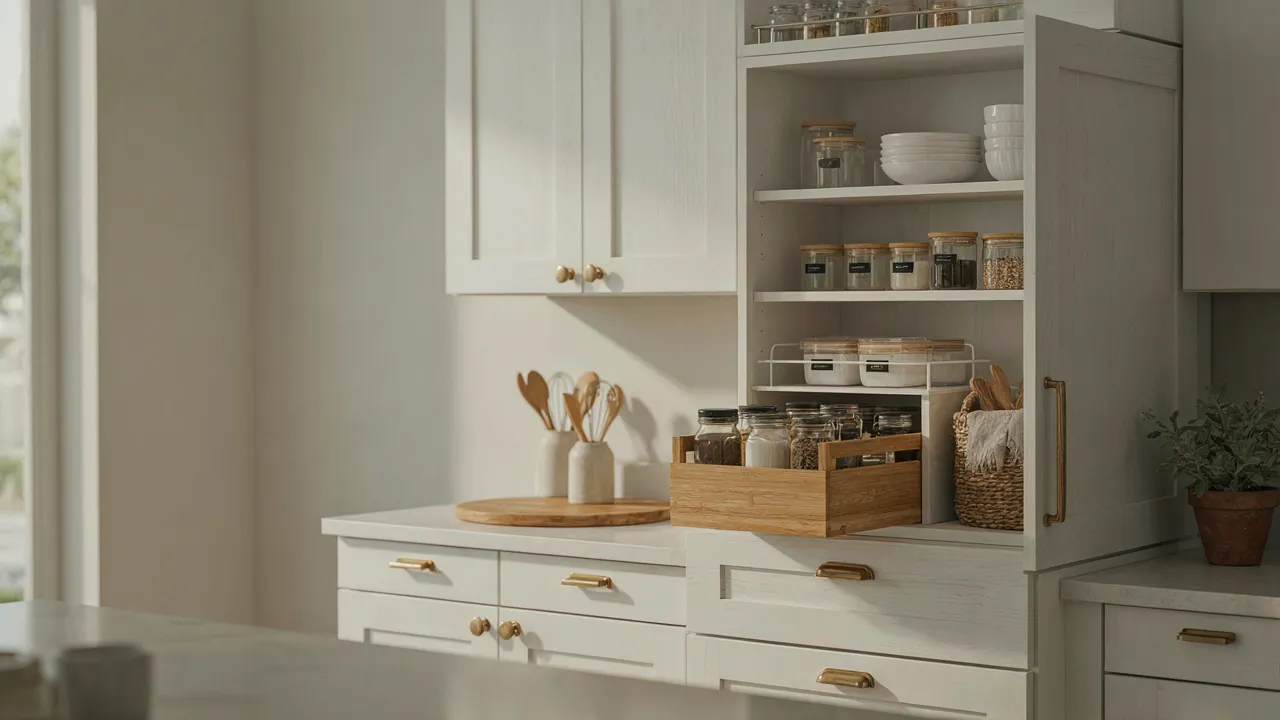
The right kitchen organizers can help you make better use of every shelf, drawer, and cabinet corner without committing to an expensive renovation. From pull-out drawers and stackable shelf risers to clear storage bins and adjustable dividers, these 24 practical ideas show how small changes can create more room for the things you use every day.
In my experience, the biggest improvement often comes from using vertical space and giving similar items a designated place. You do not need to buy every organizer at once. Start by identifying your most cluttered cabinet, measure the available space, and choose a solution that fits your daily routine. Explore these ideas to discover smarter storage options that make your kitchen feel more spacious, organized, and enjoyable to use.
Pull-Out Cabinet Drawers
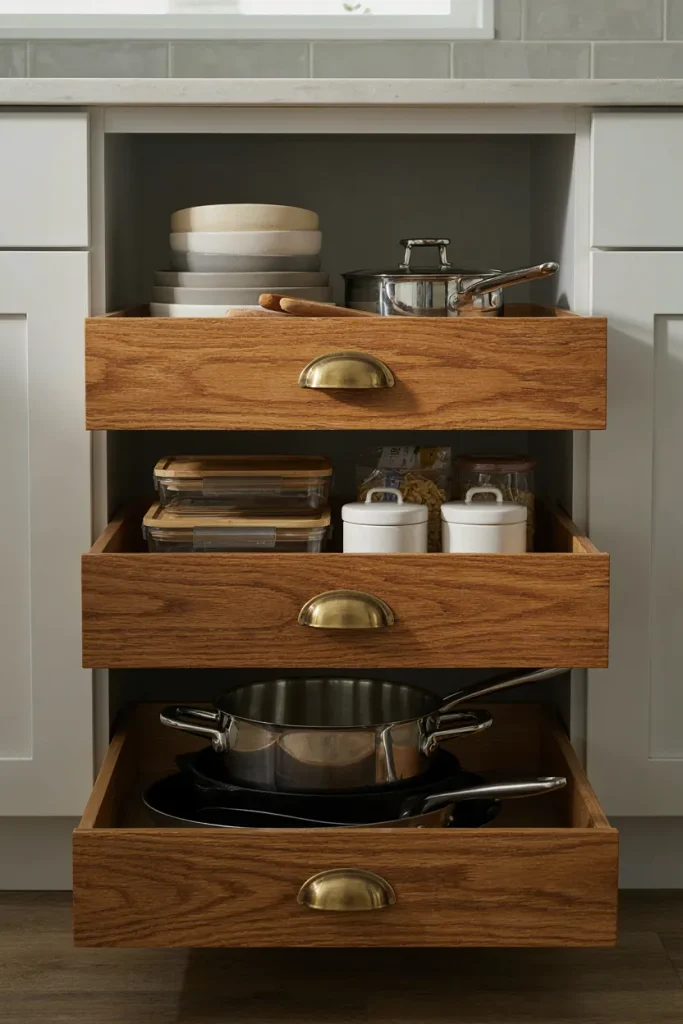
Deep cabinets often hide useful items at the back, making everyday cooking supplies difficult to reach. Pull-out drawers solve this problem by bringing everything forward without requiring you to remove several items first. They work especially well for heavy cookware, mixing bowls, and bulky food storage containers.
In my experience, organizing items by category makes these drawers even more useful. Keep pots and pans together, place matching lids in a separate divider, and reserve one drawer for frequently used bowls. Before purchasing a sliding insert, measure the cabinet’s interior width, depth, and height to ensure a proper fit.
For more ways to improve cabinet accessibility, explore IKEA’s guide to organizing kitchen cabinets and drawers.
Stackable Shelf Risers
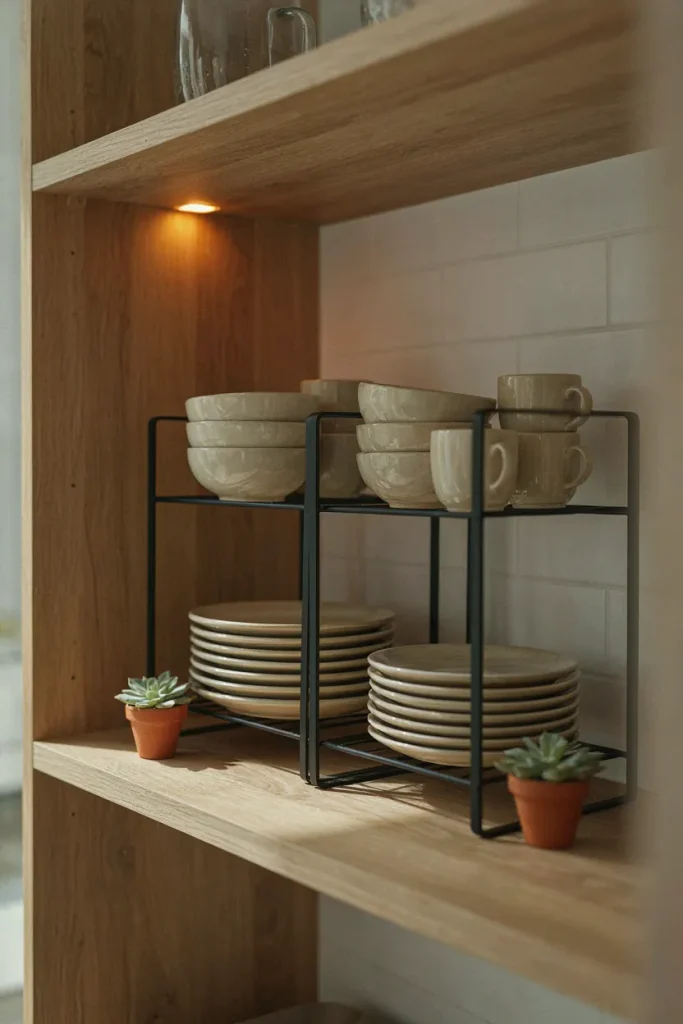
- Separate dish sizes: Store dinner plates below and smaller side plates above to use vertical space efficiently.
- Create extra levels: Add sturdy risers inside cabinets with enough height to accommodate stacked dishes.
- Keep daily dishes accessible: Place frequently used bowls and mugs on the easiest level to reach.
- Match the cabinet depth: Choose inserts that sit securely without blocking the cabinet door.
- Check stability: Select risers that can safely support the weight of your dishes.
Stackable shelf risers help you use the empty space between cabinet shelves instead of leaving it unused. They are particularly useful in kitchens with tall cabinets and limited shelving. Choose washable materials, avoid overloading elevated shelves, and leave enough clearance to remove plates without knocking into the dishes above them.
Also View: 22 Kitchen Cabinet Trends for a Fresh, Sleek Space
Clear Storage Bins
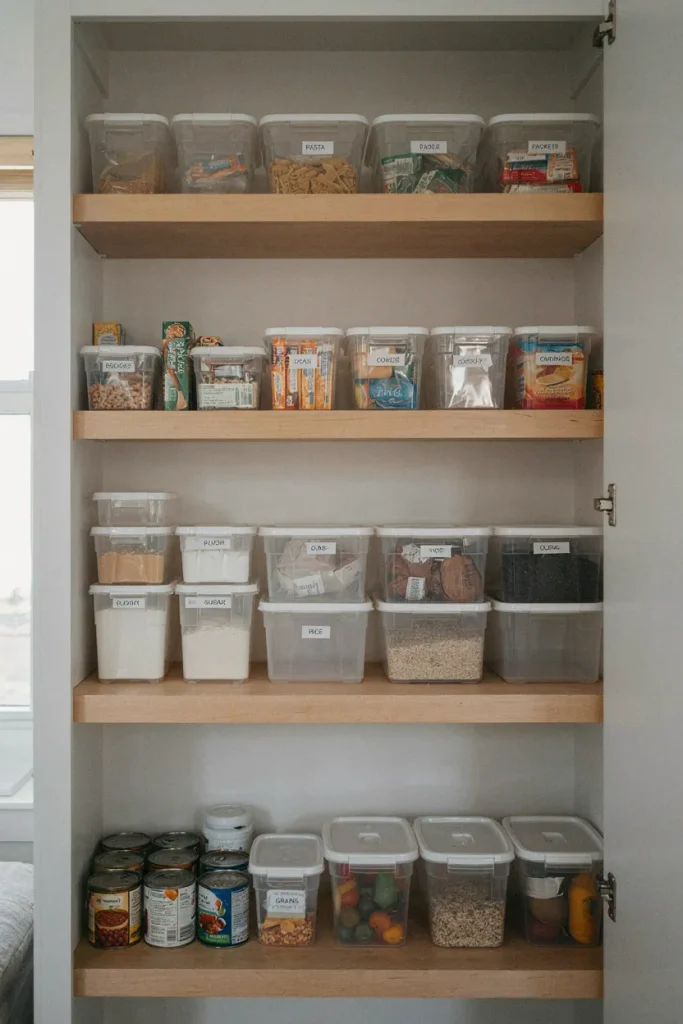
Quick Tip:
Measure the cabinet shelf before buying clear bins, and choose containers that slide out easily without hitting the door frame. Group similar products together, and add simple labels if several bins contain similar-looking ingredients.
Transparent bins make it easier to see what you already own, helping prevent forgotten snacks and duplicate grocery purchases. Use one bin for baking supplies, another for packaged snacks, and a separate container for small seasoning packets. Keep heavier items on lower shelves, and choose bins with smooth surfaces that are easy to wipe clean.
Under-Shelf Hanging Baskets
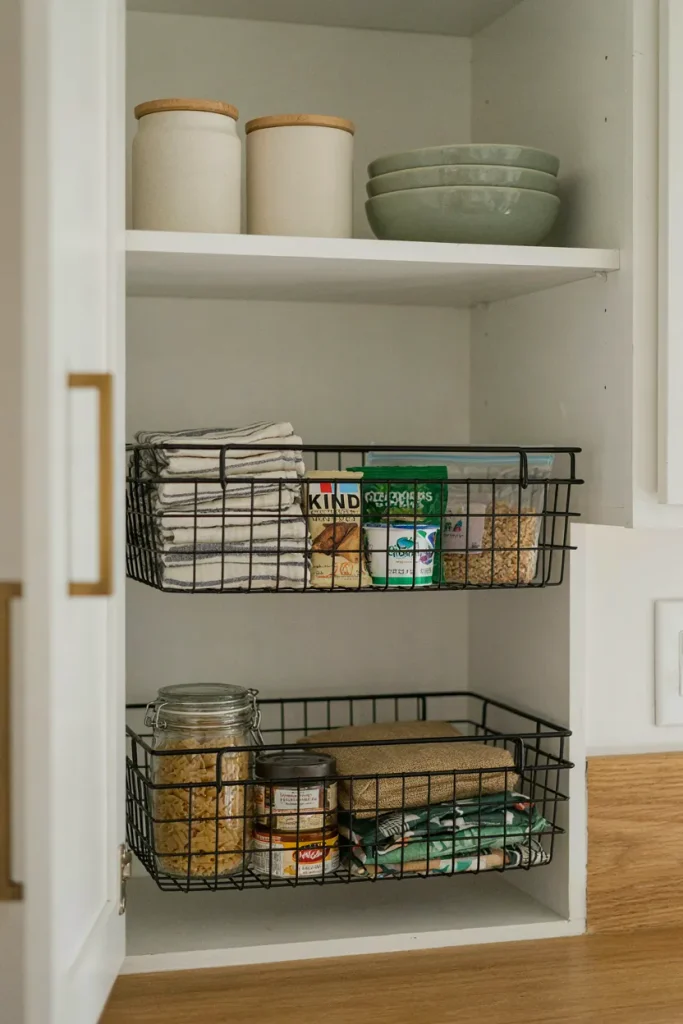
BEFORE
Cabinet shelves often have unused space underneath, while small packets, towels, and lightweight accessories pile up on the main shelf. The result is cluttered storage that makes everyday items harder to find.
AFTER
An under-shelf basket creates an additional storage level without requiring permanent shelving. Small essentials stay grouped together, and the original shelf remains available for larger items.
Choose a basket that attaches securely and leaves enough clearance for the cabinet door to close. Use it for lightweight items rather than heavy dishes or glass containers. Measure the shelf thickness before buying an insert, and check that the basket will not interfere with items stored below it.
Adjustable Pot Dividers
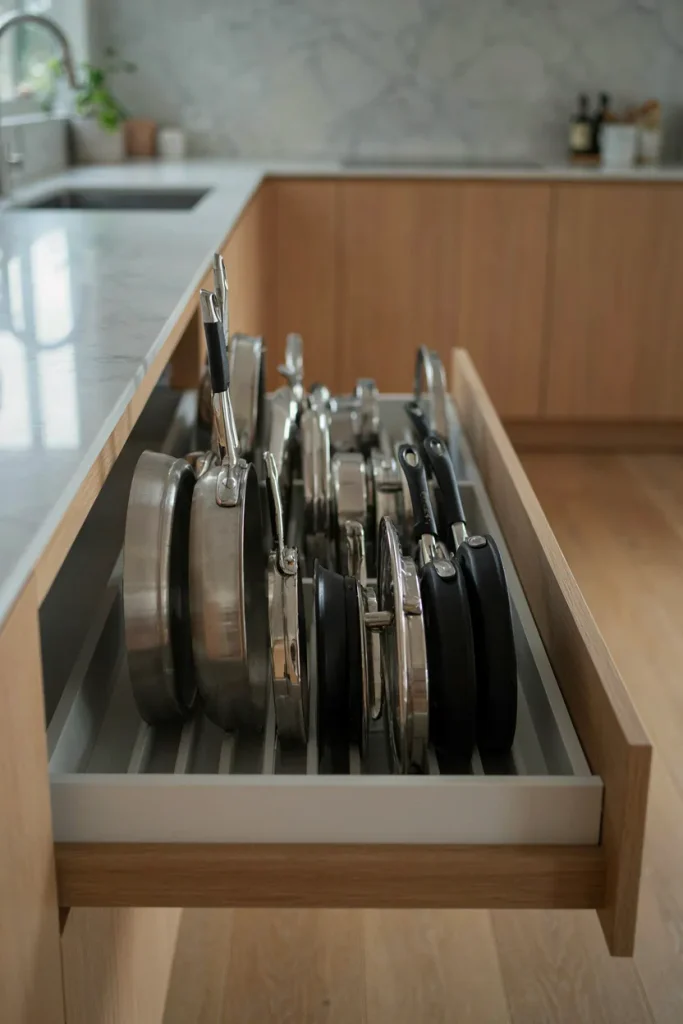
- Empty the cabinet or drawer. Remove cookware and group pots, pans, and lids by size.
- Measure the space. Check the drawer or cabinet width, depth, and usable height.
- Install adjustable dividers. Position them to create separate sections for different cookware sizes.
- Store lids vertically. Keep lids in their own slots so they are easy to remove.
- Test accessibility. Open and close the drawer to confirm that nothing shifts or catches.
Adjustable dividers turn a messy cookware pile into an organized arrangement where each pan has a place. They are particularly helpful for deep drawers and wide cabinets that can accommodate vertical storage. Choose sturdy, non-slip dividers, and leave enough space to lift out heavier pans without scraping neighboring cookware.
Lazy Susan Turntables
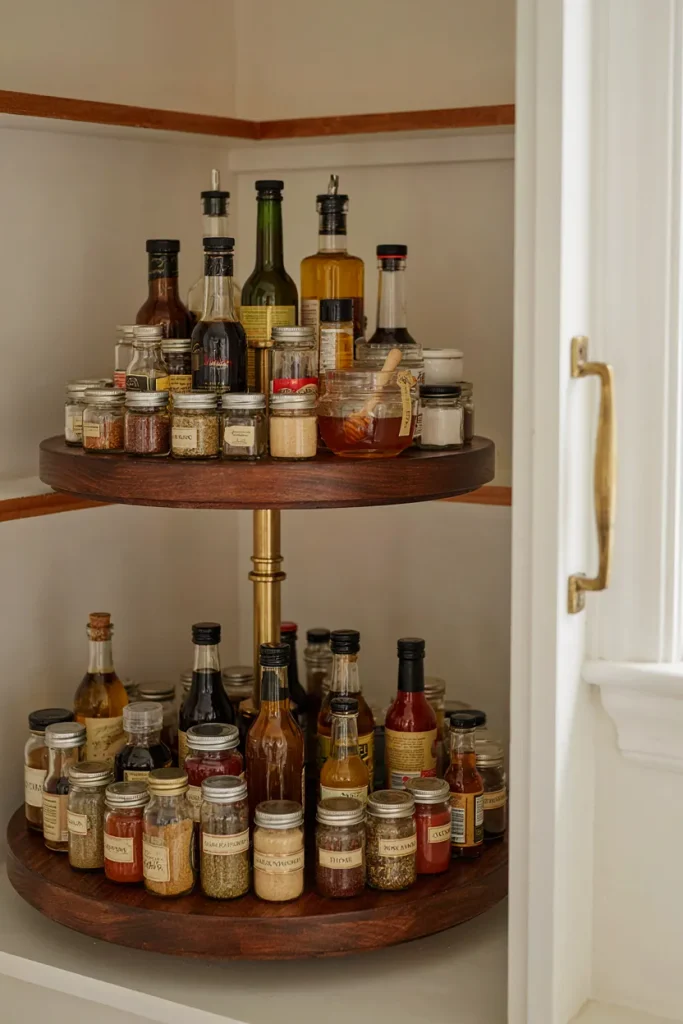
| Feature | Option A: Fixed Shelf | Option B: Rotating Turntable |
| Access | Items at the back can be difficult to reach | Rotation brings items forward |
| Organization | Products may become scattered | Similar items stay grouped |
| Best location | Open, easy-to-reach shelves | Deep or corner cabinets |
| Cleaning | Requires moving several products | One tray can be lifted out if designed for it |
| Best use | Large, stable items | Spices, sauces, and small containers |
A rotating turntable helps make awkward cabinet corners more useful by bringing hidden items within reach. Choose a diameter that allows the tray to spin freely without hitting cabinet walls or door hinges. Group products by purpose, and keep tall bottles toward the center if the design provides enough clearance to prevent tipping.
Vertical Baking Sheet Organizers
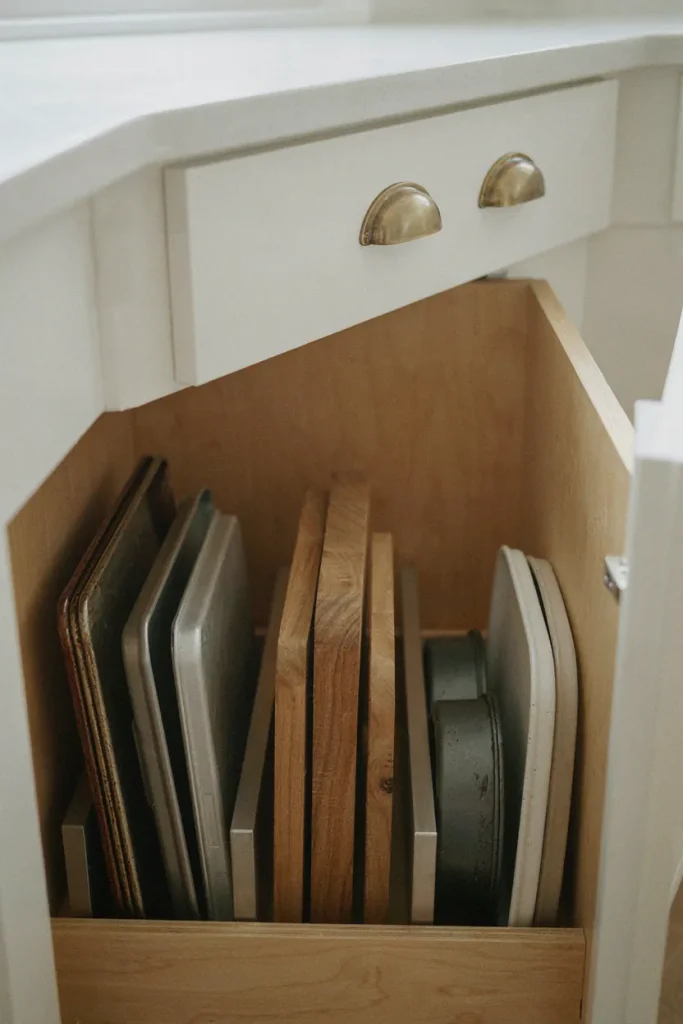
DO
- Store baking sheets and cutting boards vertically in separate slots.
- Choose adjustable dividers that fit your cabinet width.
- Group similar items together for faster access.
- Measure the height and depth before installing a rack.
DON’T
- Stack every tray flat if you frequently need the bottom one.
- Force oversized baking sheets into narrow compartments.
- Use unstable dividers that slide when items are removed.
- Place heavy cookware where it could tip forward.
Vertical storage makes flat kitchen essentials easier to identify and remove without disturbing the rest of the cabinet. It works particularly well for baking enthusiasts who own several trays, boards, and cooling racks. Keep the most frequently used pieces near the front, and make sure each slot is wide enough for easy removal.
For more practical storage inspiration, explore these kitchen cabinet organization ideas from The Spruce.
Drawer Organizer Inserts
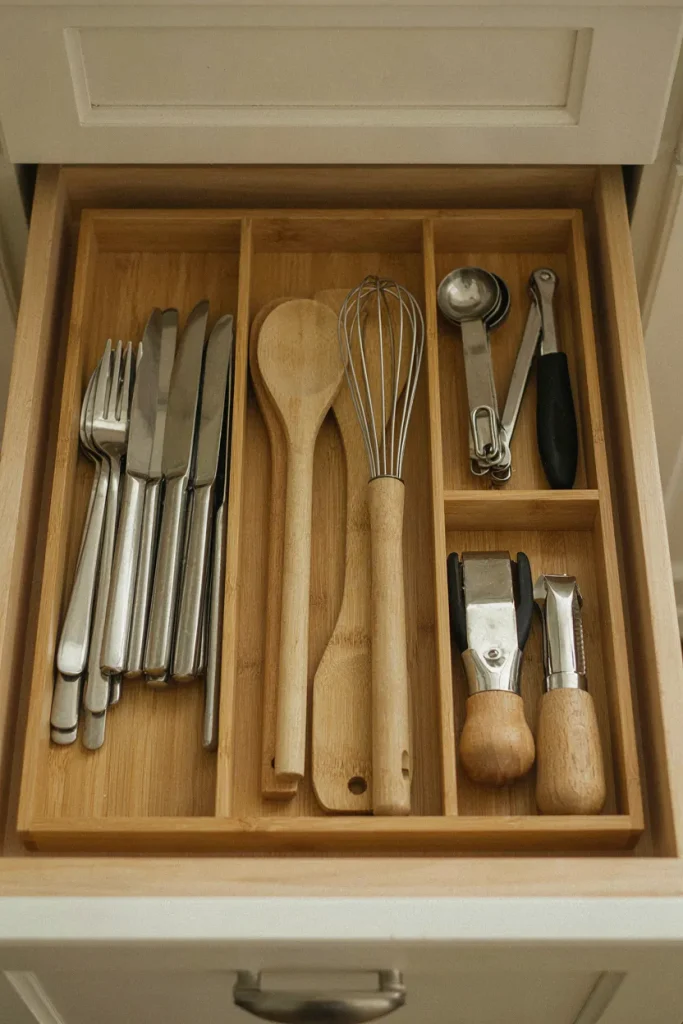
Cost: Low to moderate, depending on material and size.
Time: Around 15 to 30 minutes for sorting and arranging.
Skill Level: Beginner-friendly.
Best For: Cutlery drawers, utensil drawers, and narrow kitchen storage spaces.
Drawer inserts stop small tools from sliding into messy piles every time the drawer opens. Measure the drawer’s interior dimensions, including any sloping sides, before choosing a fixed or expandable insert. Keep everyday utensils near the front and occasional-use gadgets farther back so the drawer stays practical rather than overcrowded.
Cabinet Door Storage Racks
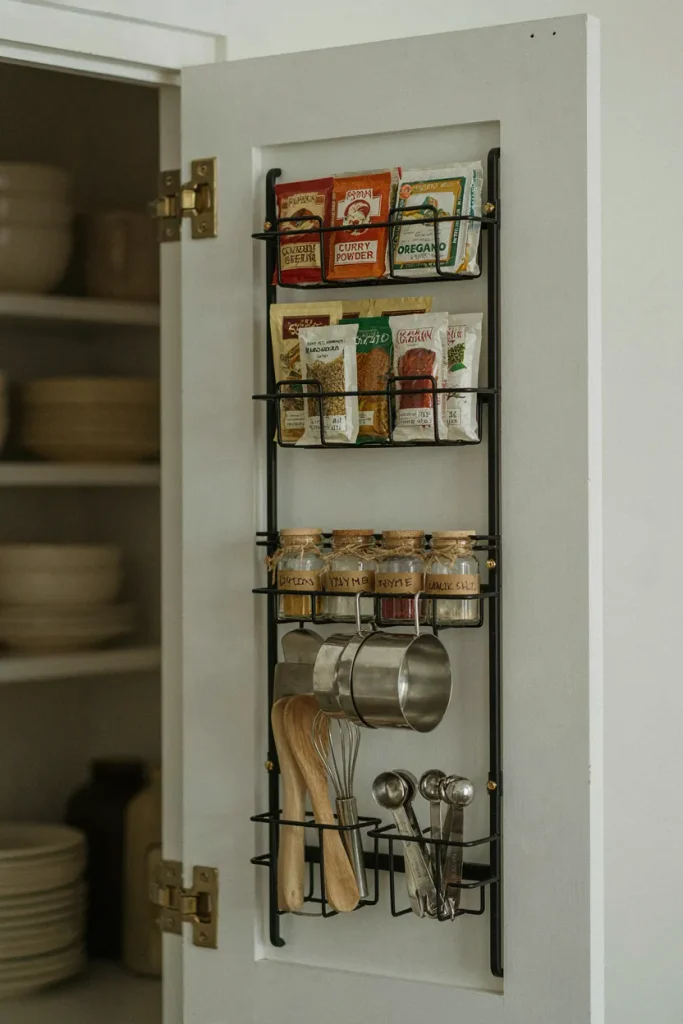
Cabinet doors can provide valuable extra storage without taking up room on the main shelves. Slim racks are useful for spice packets, measuring spoons, and other lightweight essentials that tend to disappear behind larger containers.
Before installing a rack, check the door’s thickness, hinge clearance, and available space when the door closes. Avoid storing heavy glass jars unless the rack is specifically designed to support them securely. Keeping small items on the door can make everyday cooking supplies easier to see and reach.
Pull-Out Spice Racks
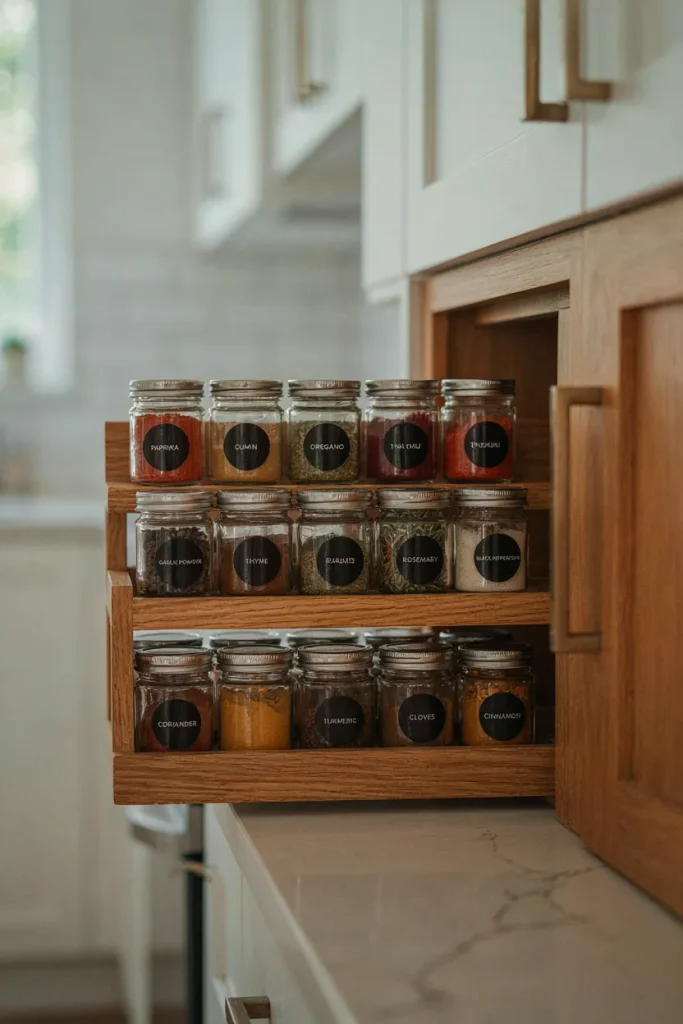
- Sort spices by use: Keep everyday seasonings near the front and occasional-use spices toward the back.
- Use matching jars: Uniform containers make the rack easier to scan quickly.
- Label each jar: Place clear labels on the front or lid for easy identification.
- Check rack dimensions: Measure cabinet width, depth, and height before purchasing a pull-out unit.
- Keep the rack dry: Wipe spills promptly to protect labels and prevent sticky residue.
A pull-out rack makes narrow cabinets useful while keeping seasonings visible and accessible. It works especially well beside the stove or food preparation area, provided the location is away from direct heat. Arrange spices by cooking frequency rather than alphabetically if you want to grab common seasonings quickly during busy meal preparation.
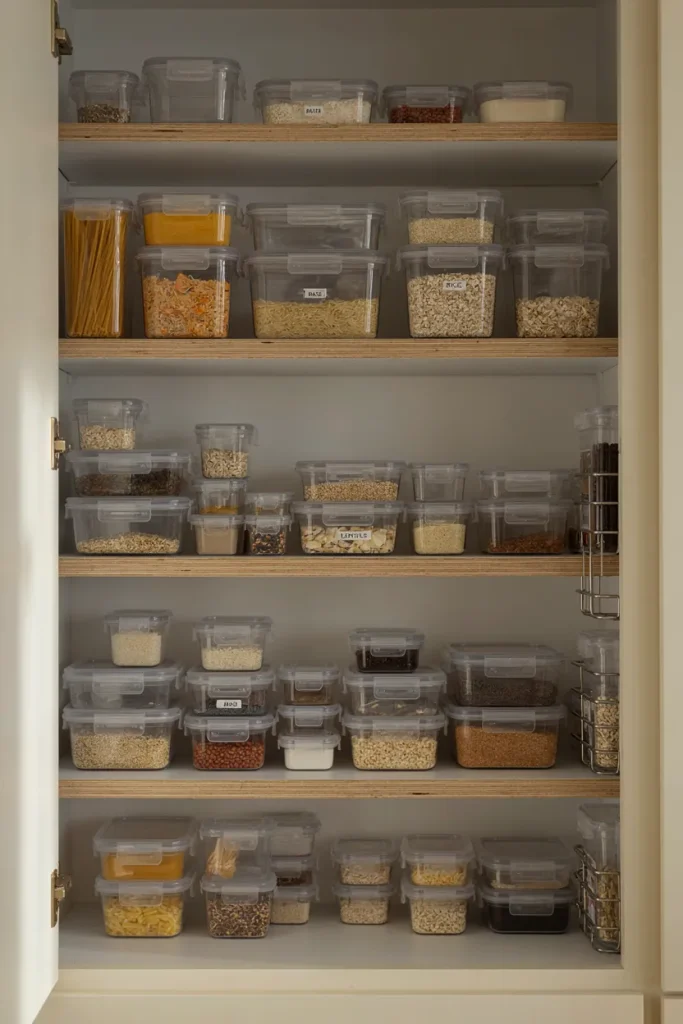
Stackable Food Containers
Quick Tip:
Choose containers with matching shapes and stackable lids to reduce wasted space. Before buying a new set, measure your cabinet shelves and check which sizes fit your usual leftovers, grains, and pantry staples.
Uniform containers make crowded shelves look calmer because their straight edges fit together neatly. Store lids in a separate holder or matching compartment instead of balancing them loosely on top. Keep frequently used containers at the front, and select dishwasher-safe materials if you want cleaning to remain simple after everyday meals.
Under-Sink Storage Shelves

BEFORE
The cabinet beneath a kitchen sink often becomes a crowded collection of cleaning bottles, spare sponges, dish soap, and trash bags. Plumbing pipes can make the available space awkward, leaving useful items hidden behind others.
AFTER
A two-tier organizer or adjustable shelf creates separate levels for supplies while keeping the plumbing accessible. Clear bins group smaller items, and a sliding tray makes products at the back easier to reach.
Measure around the pipes before choosing an organizer, and check for leaks before placing supplies inside. Keep cleaning chemicals in their original labeled containers, away from food and out of children’s reach. Choose a moisture-resistant organizer and leave enough clearance to inspect plumbing connections when needed.
Tiered Pantry Baskets
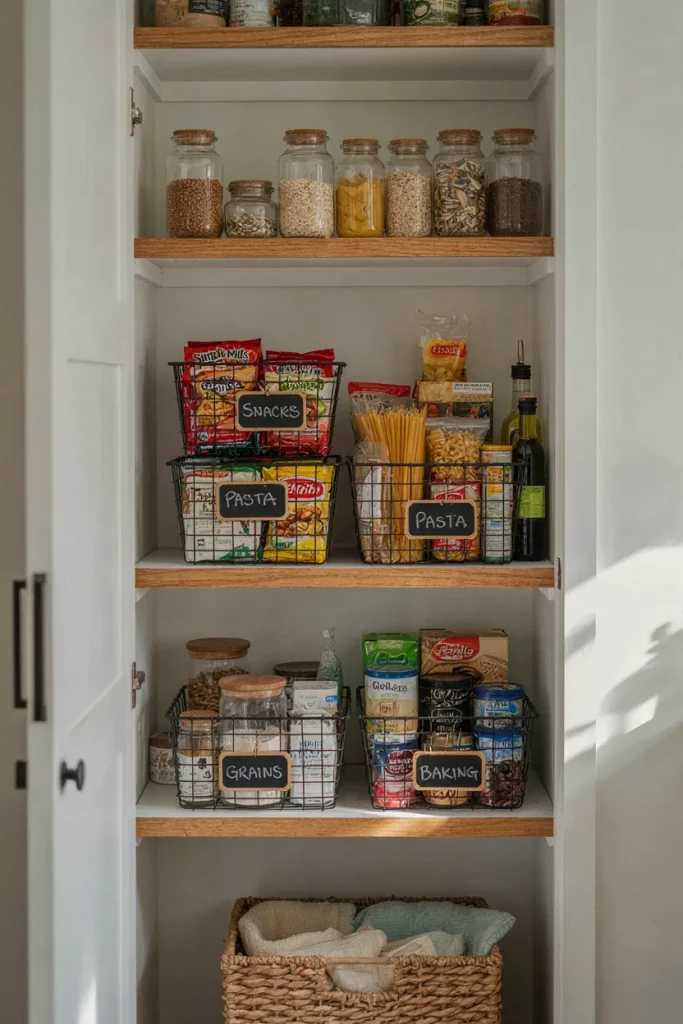
- Measure your shelves. Check the width, depth, and height available for stacked or tiered baskets.
- Group similar products. Keep snacks, baking ingredients, and packaged meals in separate baskets.
- Place heavier items below. Store bulky packages on lower levels for stability and easier lifting.
- Keep daily essentials visible. Position frequently used products on the easiest shelf to reach.
Tiered baskets help you use vertical cabinet space while keeping packaged foods organized and accessible. Choose sturdy baskets with smooth edges, and avoid stacking them beyond their intended design. A simple category system makes restocking easier and helps you notice which ingredients are running low before your next grocery trip.
Expandable Cabinet Shelves
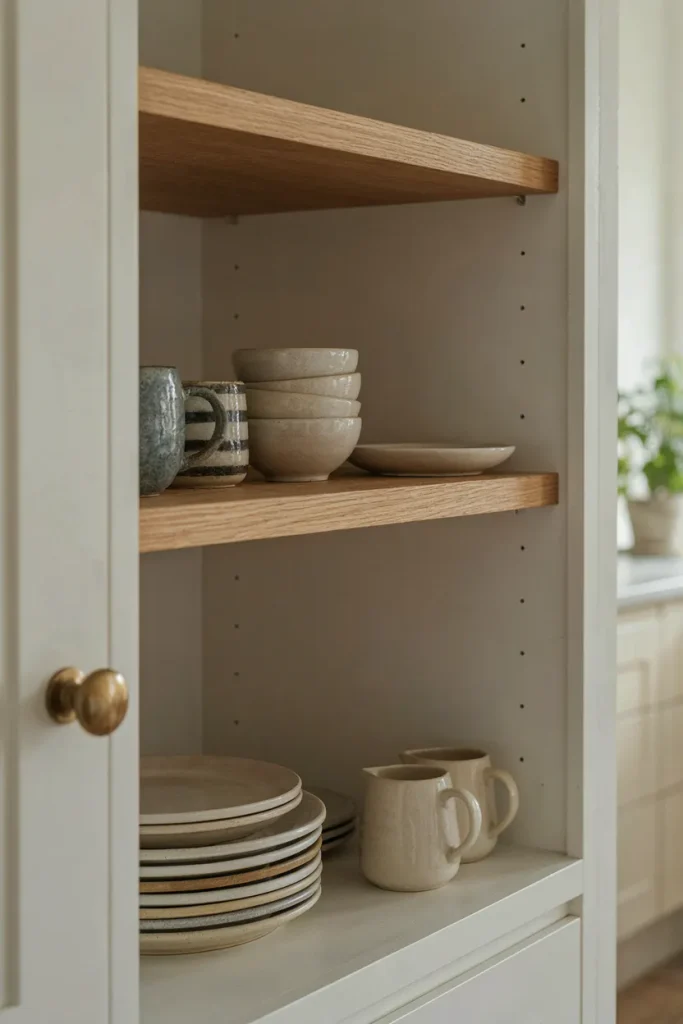
| Feature | Option A: Single-Level Shelf | Option B: Expandable Shelf Insert |
| Vertical space | May leave unused space above dishes | Creates an additional storage level |
| Flexibility | Fixed height | Often adjusts to different widths |
| Installation | No extra insert needed | Usually requires simple placement |
| Best use | Tall cookware and large bowls | Plates, cups, and smaller dishes |
| Accessibility | Stacks may become difficult to reach | Separates items into easier-to-access groups |
Expandable shelf inserts help make tall cabinets more practical without requiring permanent construction. Measure the usable width and height, including the space needed to remove dishes comfortably. Choose a sturdy insert that supports the weight of your dinnerware, and avoid placing heavy items on an elevated level if the shelf feels unstable.
Lid Storage Dividers
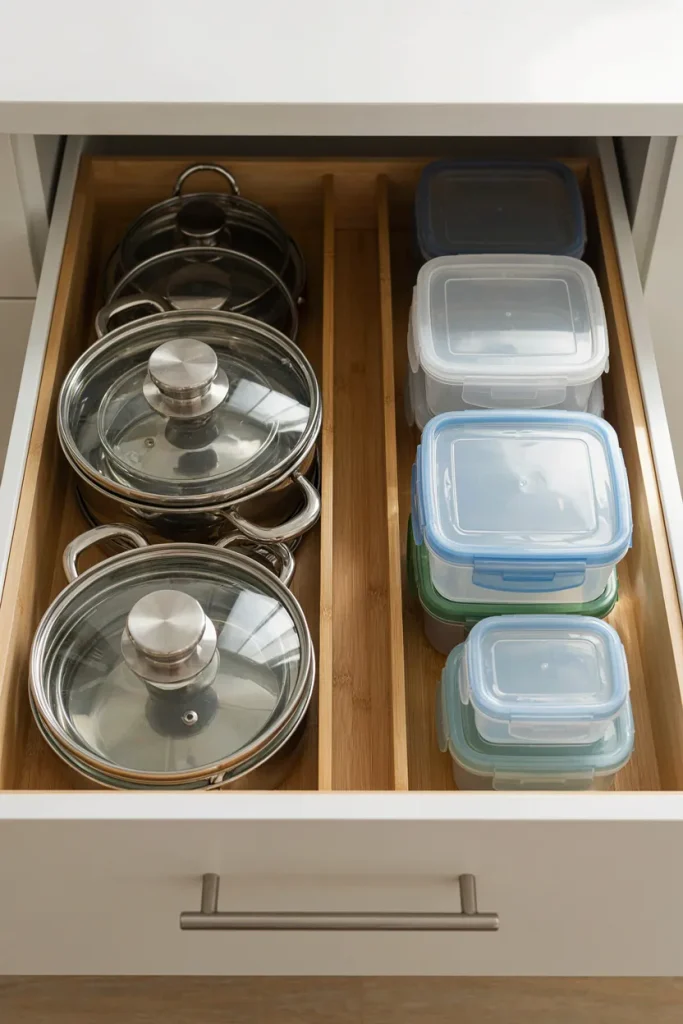
DO
- Separate cookware lids from food container lids.
- Use adjustable dividers to fit different lid sizes.
- Store frequently used lids near the front of the cabinet.
- Check that vertical slots hold lids securely without scratching them.
DON’T
- Stack every lid loosely in one tall pile.
- Force oversized lids into narrow compartments.
- Place fragile glass lids where they can fall forward.
- Ignore drawer clearance when selecting a divider system.
Lid dividers remove one of the most frustrating sources of cabinet clutter by giving every lid a designated place. They work in deep drawers, wide cabinets, and suitable pull-out organizers. Sort lids by size before installing the dividers, and keep the most frequently used pieces within easy reach during cooking.
Mug Hanging Hooks

Cost: Low, depending on the hook style and material.
Time: Around 15 to 30 minutes for measuring and installation.
Skill Level: Beginner-friendly, depending on the mounting method.
Best For: Coffee mugs, tea cups, and small lightweight kitchen accessories.
Hanging mugs beneath a shelf frees up valuable space for bowls, plates, or coffee supplies. Measure the height of your tallest mug before installing hooks, and leave enough space for each handle to slide on and off comfortably. Choose hooks with a suitable weight rating, and use a secure mounting method that will not damage the cabinet or interfere with the door.
Vertical Plate Racks
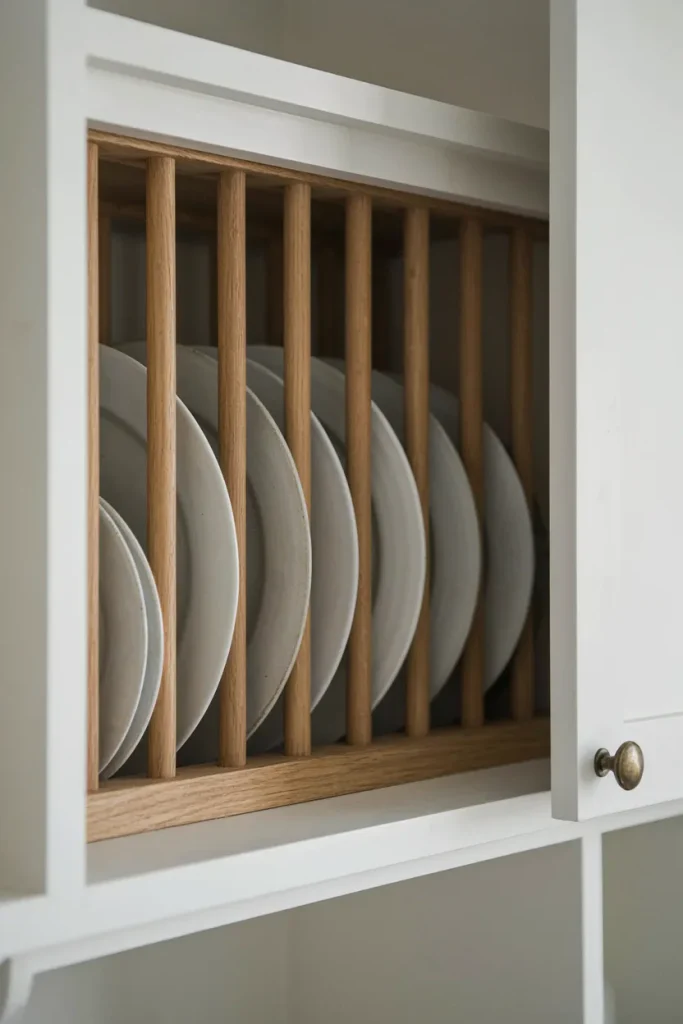
Stacking plates can leave you lifting several dishes just to reach the one at the bottom. A vertical plate rack keeps individual pieces separated, making everyday dishes easier to access and helping prevent unstable stacks.
Choose a rack designed for your plate sizes and cabinet depth. Make sure the slots support each plate securely without squeezing the edges, especially if your dinnerware is delicate. Store the most frequently used plates toward the front, and check that the rack remains stable when a dish is removed.
Clear Canister Collections
Quick Tip:
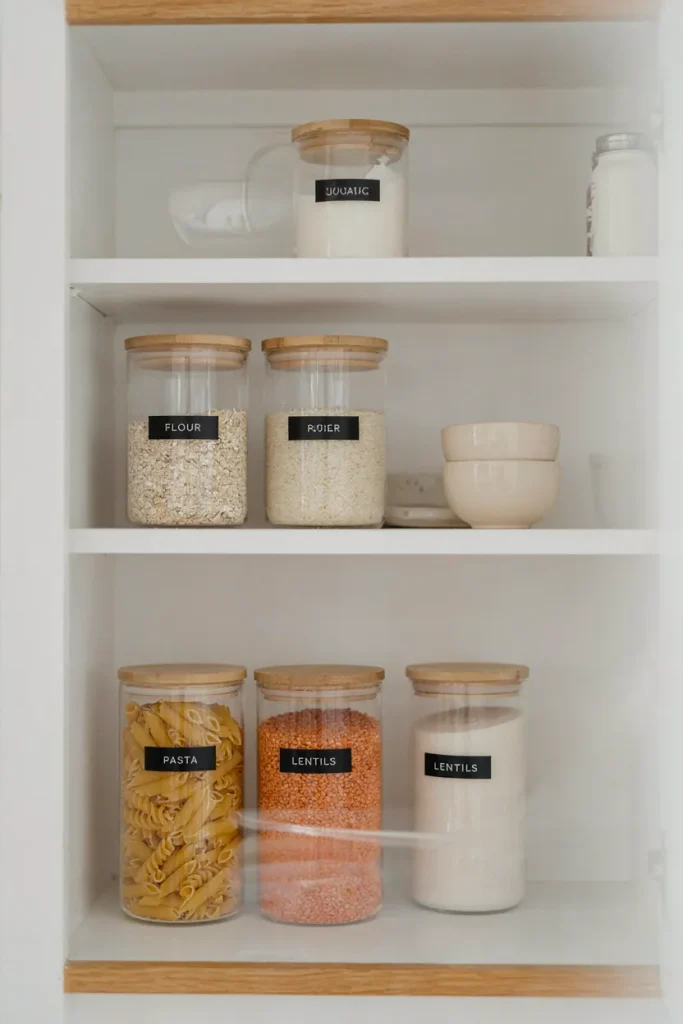
Choose airtight canisters in a few coordinated sizes instead of buying many containers that do not fit together. Measure your shelves first, and label each canister with the ingredient name and, where useful, its cooking instructions.
Clear canisters make dry ingredients easier to identify and help you check supplies before shopping. Square or rectangular shapes often fit cabinet shelves more efficiently than rounded containers because they leave fewer gaps. Keep heavier ingredients on lower shelves, and ensure each container is completely dry before refilling it to protect food quality.
Rolling Cabinet Carts
BEFORE
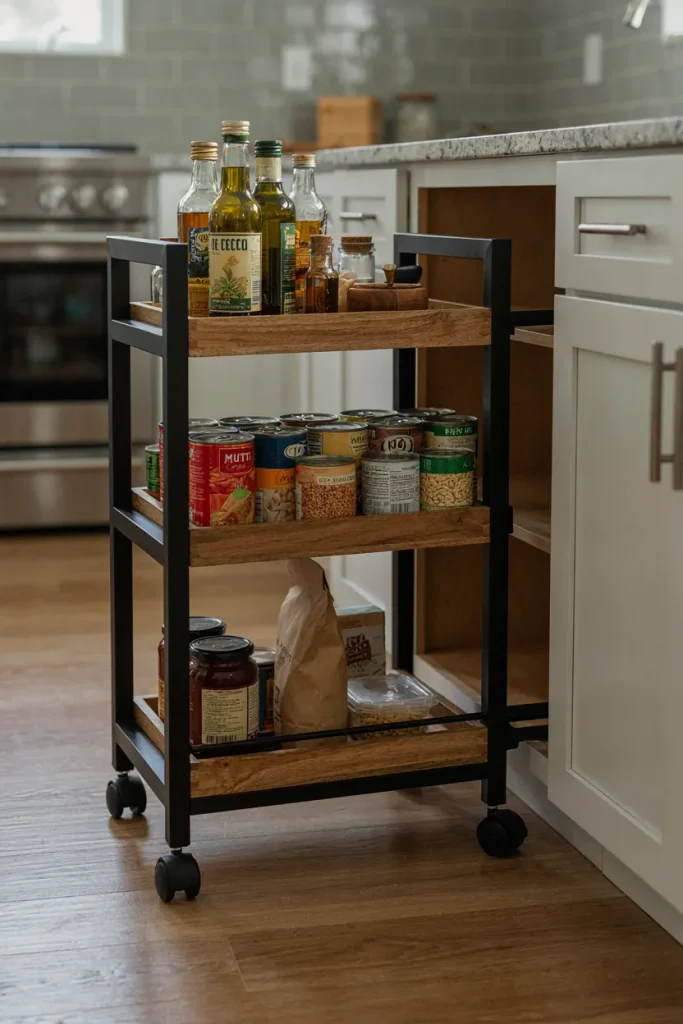
Deep lower cabinets can become cluttered when cans, bottles, and pantry supplies are pushed toward the back. Finding one item often means moving several others, and forgotten products may expire before they are used.
AFTER
A slim rolling cart brings stored items forward with a simple pull. Grouping similar products on each level makes everything easier to see and helps keep the cabinet organized.
Measure the cabinet opening carefully, including the space around hinges and plumbing if present. Choose a cart with smooth-rolling wheels and a stable frame, then distribute heavier items across the lower levels. Check the weight capacity before loading it, and leave enough clearance for the cart to move freely.
Nested Mixing Bowls
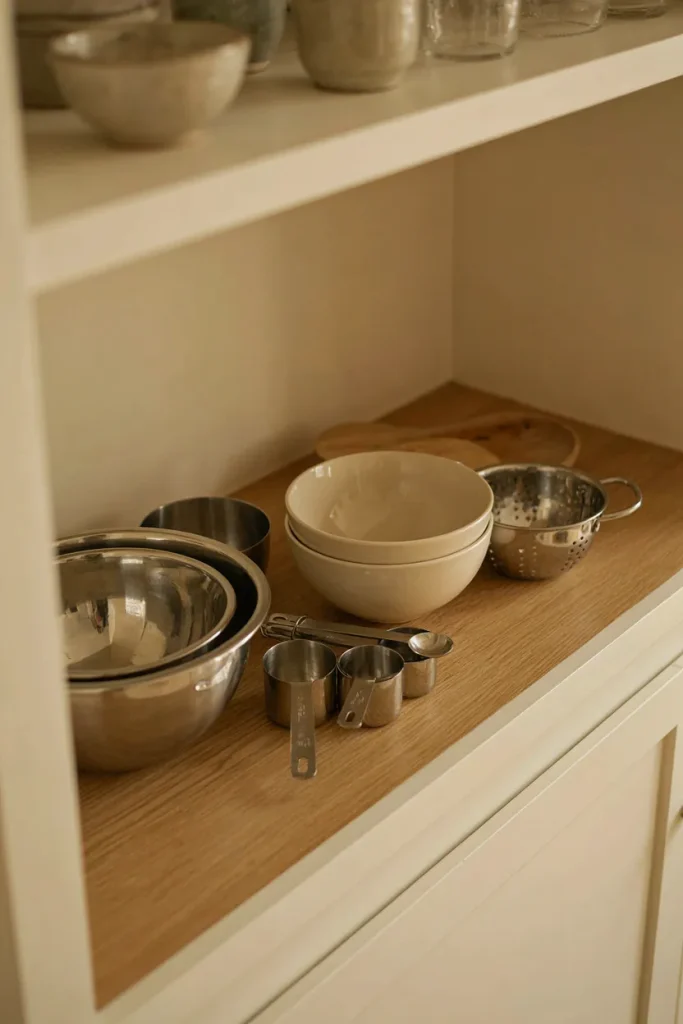
- Empty the cabinet. Gather mixing bowls, colanders, and measuring cups in one place.
- Sort by size. Arrange bowls from largest to smallest.
- Nest matching pieces. Place smaller bowls inside larger ones when their shapes allow a secure fit.
- Store accessories together. Keep measuring cups and small colanders in a nearby bin.
- Check stability. Make sure nested bowls can be removed without pulling the entire stack apart.
Nested bowls use less shelf space than separate stacks and keep common cooking tools together. Choose a cabinet shelf with enough height for the largest bowl, and avoid forcing together pieces that scratch or trap moisture. Keeping the set near your food preparation area makes mixing, measuring, and cleanup more convenient.
Drawer Peg Organizers
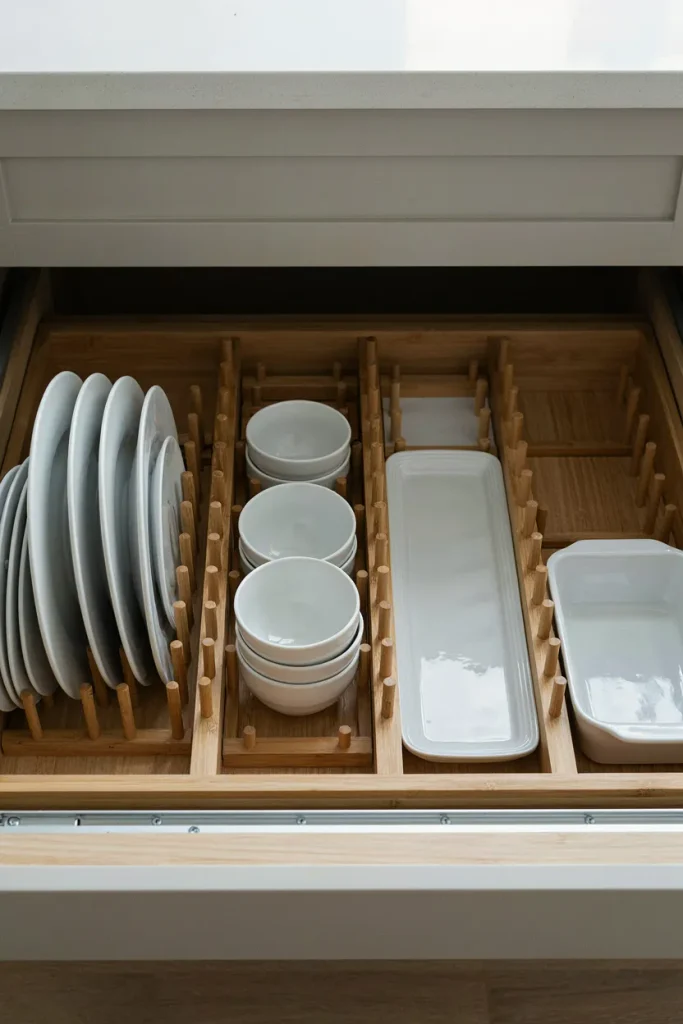
Cost: Moderate, depending on the organizer’s size and material.
Time: Around 20 to 40 minutes for measuring and arranging.
Skill Level: Beginner-friendly.
Best For: Deep drawers storing plates, bowls, and serving dishes.
Adjustable peg organizers help keep dishes from sliding when a drawer opens or closes. Move the pegs to create individual spaces for different plate sizes, leaving enough room to lift each piece out easily. Check that the drawer can support the combined weight of the organizer and dinnerware, and avoid overcrowding fragile dishes.
Magnetic Refrigerator Bins
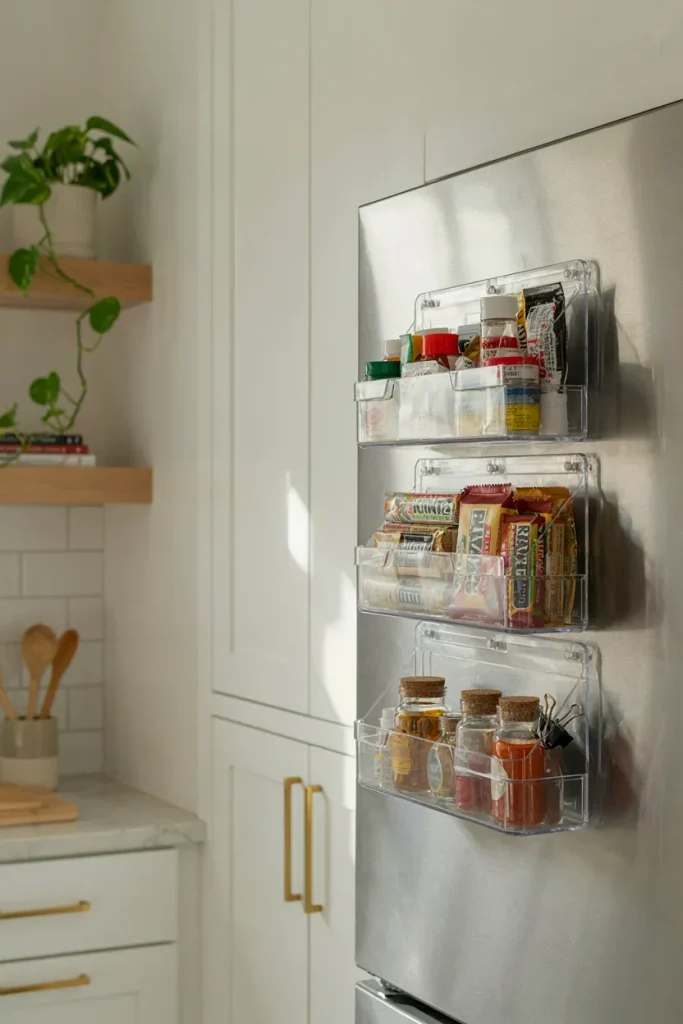
Cost: Low to moderate, depending on the number and strength of the bins.
Time: Around 10 to 20 minutes for sorting and arranging.
Skill Level: Beginner-friendly.
Best For: Lightweight packets, small snacks, and frequently used kitchen essentials.
Magnetic bins make use of an often-forgotten surface without taking up space inside your cabinets. Choose containers designed for your refrigerator’s material, and check their weight limits before loading them. Keep heavier items elsewhere, arrange similar products together, and avoid blocking refrigerator vents or interfering with doors.
Under-Cabinet Hanging Racks
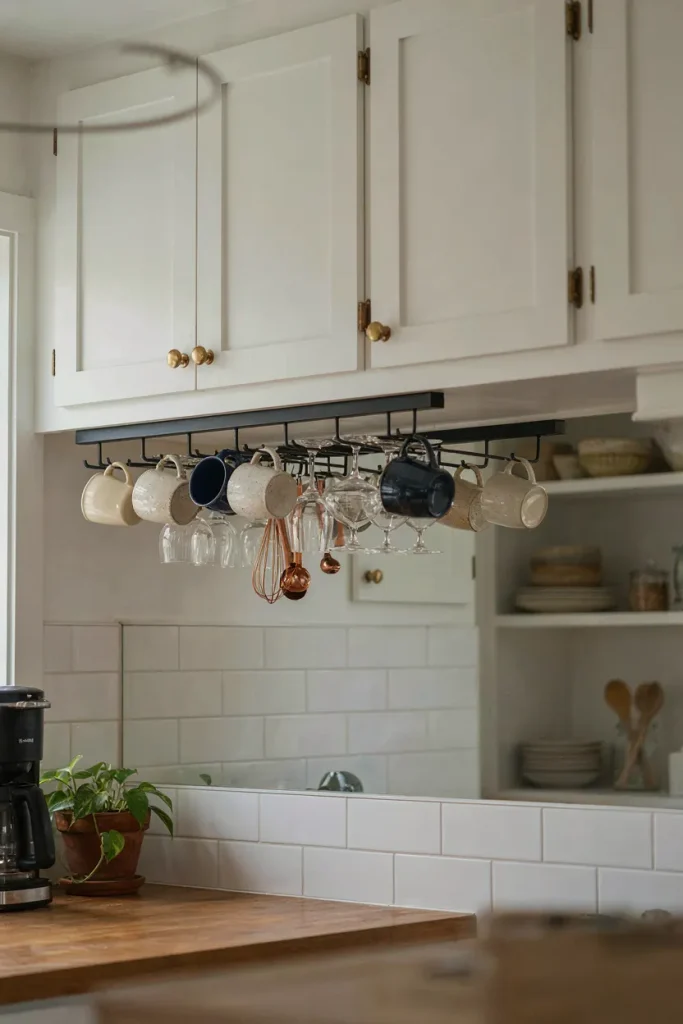
Unused space beneath upper cabinets can become practical storage for mugs or suitable glassware. Hanging racks keep frequently used pieces within reach while freeing up shelf space for plates, bowls, and pantry essentials.
Measure the clearance between the countertop and cabinet before installing a rack, especially above coffee machines or food preparation areas. Choose a design that securely supports the items you intend to store, and confirm that mounting screws will not damage the cabinet interior. Keep hanging pieces spaced apart to prevent clinking, chipping, or accidental breakage.
Labeled Storage Baskets
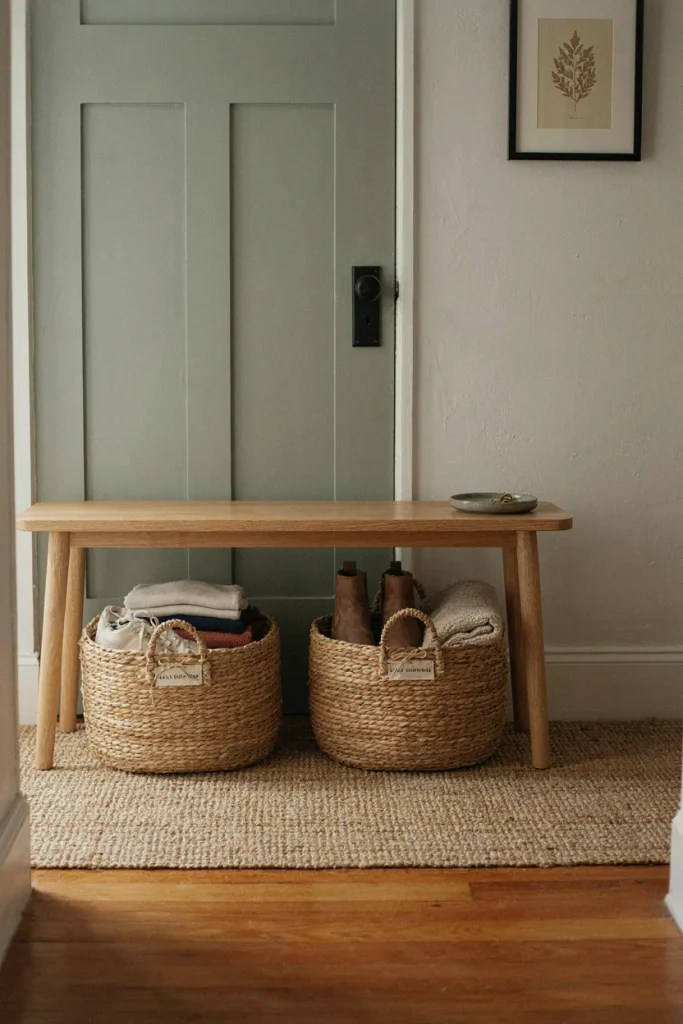
- Create clear categories: Dedicate separate baskets to baking supplies, snacks, tea, and packaged ingredients.
- Choose matching sizes: Uniform baskets create a tidy appearance and make better use of shelf space.
- Add readable labels: Use short names that help everyone find and return items easily.
- Keep heavy products low: Store bulky packages on lower shelves to make lifting safer.
- Leave room to pull baskets out: Avoid packing shelves so tightly that containers become difficult to remove.
Labeled baskets make crowded cabinets easier to manage because every category has a designated home. They are especially useful for small packets, baking accessories, and products that tend to become scattered. For kitchen organizers that look coordinated and work well every day, choose washable baskets with sturdy handles and measure the shelves before purchasing.
CONCLUSION
An organized kitchen does not require bigger cabinets or a complete makeover. With the right kitchen organizers, you can make better use of existing space, keep everyday essentials within reach, and reduce the frustration of searching through cluttered shelves.
Start with one drawer or cabinet and choose an idea that solves your biggest storage problem. Even a simple shelf riser or a set of clear bins can make daily cooking feel easier. I’ve found that practical organization works best when every item has a convenient place. Save this article on Pinterest for future inspiration, try your favorite ideas, and share it with someone who could use a little more kitchen space. A tidier kitchen starts with one small change.